My daughter’s Emerson’s room was remodeled last year. It was really fun to design and turned out just how I wanted. A post with all those details is found here. But as with any room there are always spots to add a little something or make changes. Is any room ever official done? Not in our house.
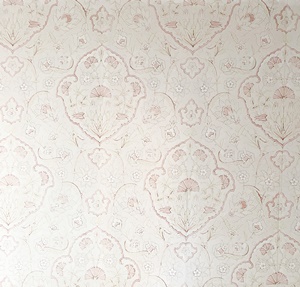
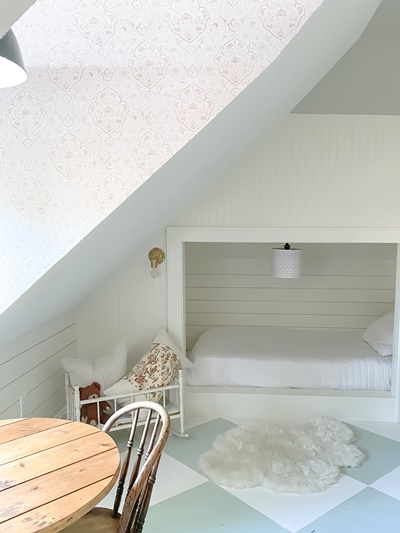
I love the possibilities that peel and stick wallpaper has added to the DIY design world. I also really, really love adding a some pretty pattern to a wall or two in a room. When the two local Milwaukee companies, Chasing Paper and I SPY DIY collaborated to design a line of peel and stick wallpaper, I knew it was going to be good. These companies are owned by two women who I admire for their design talent, and their ability to serve their communities of small businesses and artists. I started by ordering the sample pack of the this line. Each nature inspired design was lovely, but floral play was a clear winner for the space. And in the blush shade. I almost never decorate with pink and my daughter (since it is her room afterall) isn’t a huge pink fan either. But this is surely worth stretching our typical color palette.
Installing the wallpaper was pretty easy. It is very high quality peel and stick wallpaper, as I learned when I spilled a vase of flowers filled with water on 4 rolls of it waiting to be hung. That was not a good moment. But I quickly wiped off the water and spread them out to dry. The water wiped almost completely dry immediately and there was no damage. That was a relief.
There are a couple tricks that I helped me with installation:
-Using a kitchen pan scraper to work out the any air bubbles in the wallpaper works like a charm. Also keeping it close by for several days after installation to smooth out places I missed the first time around.
The second is I found it helpful to overlap the wallpaper in some places. Because my walls are not 100% strait/flat it was difficult to get the wallpaper to line up without leaving a gap in someplaces. I found that if I overlapped a piece of wallpaper in these places it looked better to me. I didn’t overlap entire rolls, just in spots that the space in the seam was very obvious, I took a smaller remnant and overlapped it. Eventhough there are more seams, it still looks cleaner in my opinion.
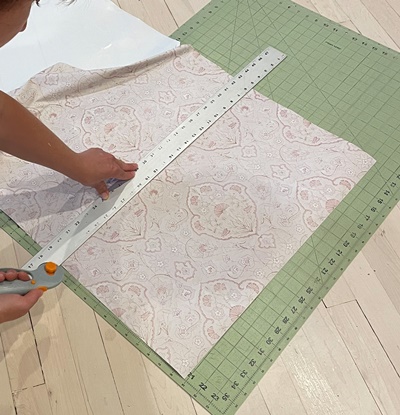
Third if I needed to cut a piece, using my fabric rotary cutter with mat was the way to get a strait edge.
Finally an exacto knife is a must to cut off excess after it is installed. It took some trial and error to get a clean cut where the paper ended on the corner entering the room. I had the best luck in spots where I left at least a half inch excess and just ran an exacto knife down the seam carefully to cut of the excess.
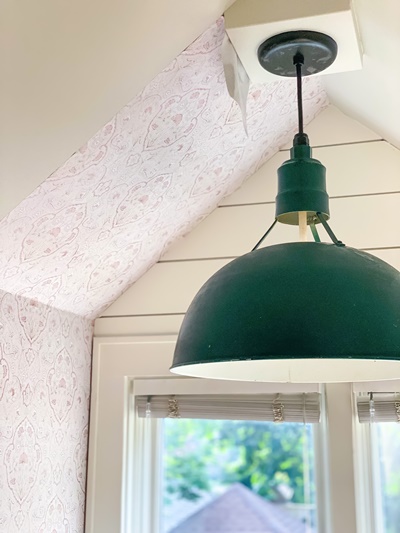
The first roll that went up, I realized this was going to be better than I expected.
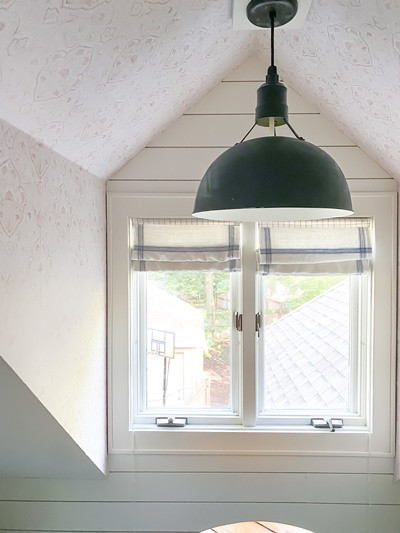
Then with it all in place, it created an added feeling to the space. I am not sure how to explain it. How do explain when a design element makes your heart happy? It’s sort of like listening a good song that makes you feel good. I think of wallpaper as a art form, and living amongst this beautiful art serves my soul.
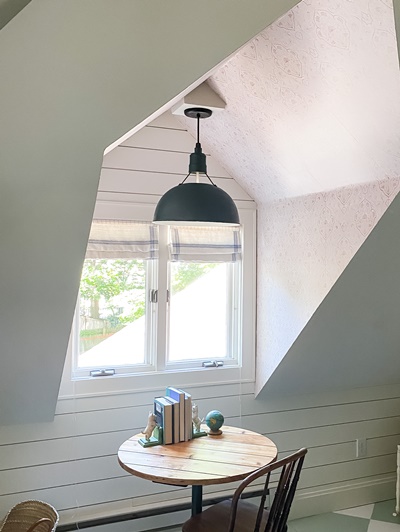
Because this little nook was getting an upgrade, I wanted to change out the blinds. These windows are really small and tight, and I needed a window covering that was very low profile. Roman shades were a great canidate. Again, Jenni Yolo of I Spy DIY inspired me no sew roman shades she created for her office, since I do sew I tried a sewn version.
This is the process that I used:
*****Please note do not make these for a space for small children, there is a choking harzard with the cords***
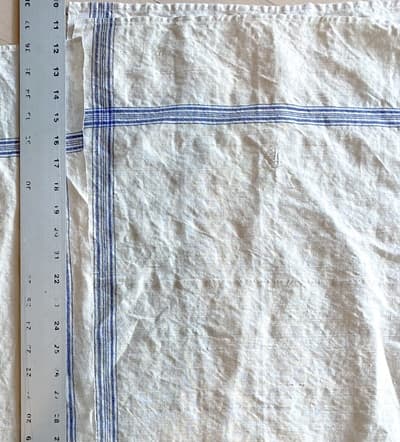
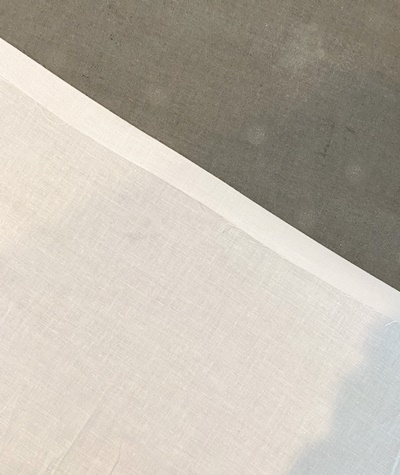
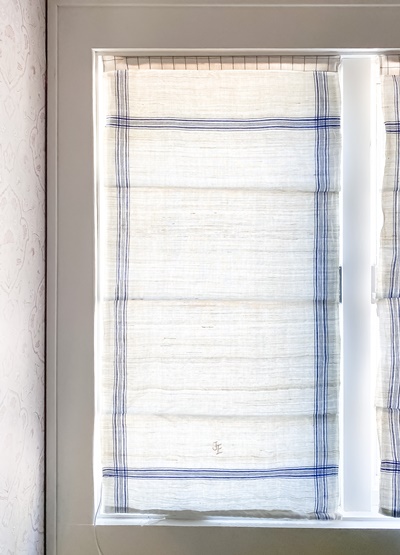
1) In the beginning I had to pick the right fabric. I wanted something fun. I did a quick search on the internet and didn’t find anything. Then I thought about trying these vintage grain sack styled tea towels, that I bought from the lovely etsy shop, Linen by Sabine. I don’t think that I ever would have sought out putting this blue stripe in with the blush wallpaper, but when I put them togther it totally worked in my opinion. Also the tea towels were almost the perfect size. The towels measured approximately 17 1/2 inches wide by 37 inches long. The window that I needed a shade for was 16 1/4 inches wide by 31 inches long. When all the pockets for the dowels were sewn, the tea towel was just a little short of the needed length, so I added 2 inches to the top with a coordinating fabric. So I needed a 17 1/2 by 39 inch piece of fabric to cover that size of window. If you are cutting a piece of fabric you need to allow for more fabric for a hem.
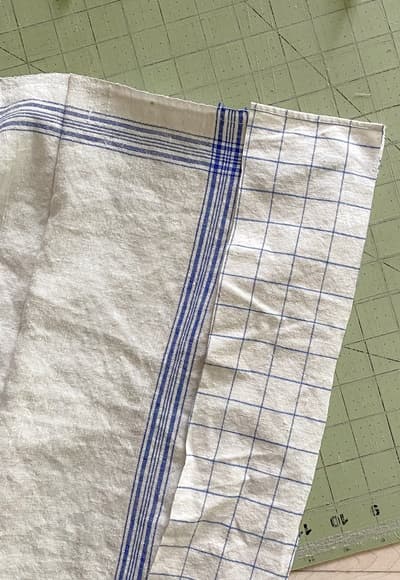
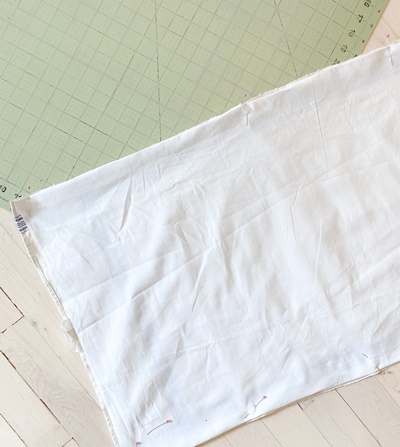
2) I cut a piece of fabric liner measuring 18 1/2 by 40 inches to sew on the back of the towel. This liner adds thickness to the fabric and helps to keep out the light.
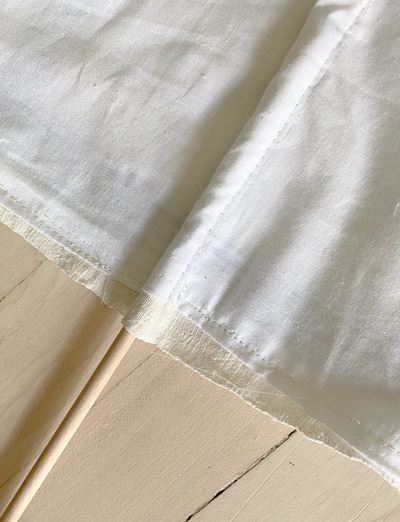
3) I folded a half inch of the fabric liner around all the edges and ironed it in place. Then I pinned and sewed it in place on the back of the tea towel. If you are using linen or similar fabric it has a lot of stretch to it, make sure to pull it taut when sewing your backing in place.
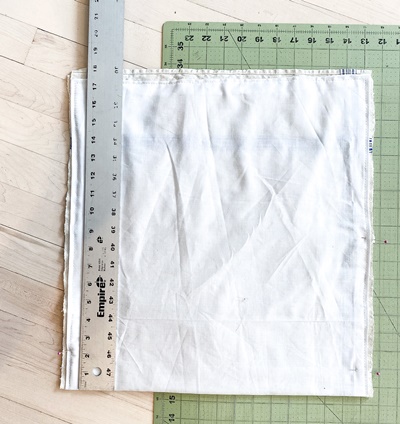
4) Next I had to measure out where to sew the pockets for the dowels. I took the number 39 and divided by 4 which equals 9.75 inches. Then marked increaments of 9.75 inches down the side both sides of the fabric.
5) To sew the pockets, I folded the fabric over with right sides together at the marked spots and sewed a line with a half inch seam allowance. Then at the bottom I sewed a half inch hem to allow for a pocket for the dowel. Then I slid the dowels into place.
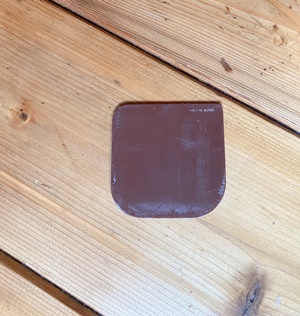
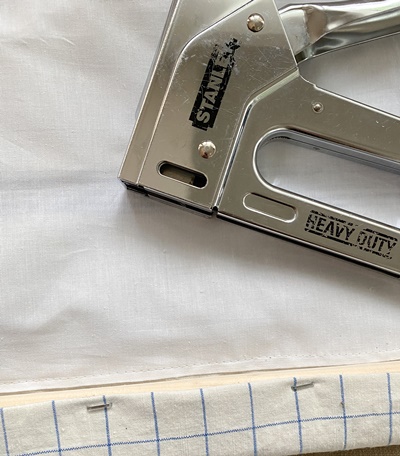
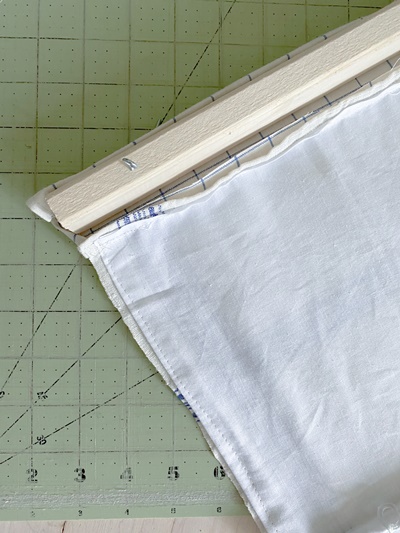
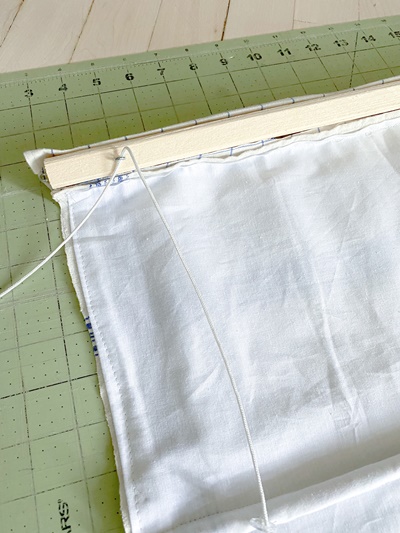
6) With the 1 x 2 inch piece of wood I stapled one inch of fabric over the top of it on the 2 inch side and attached 2 eyelet screws to the back of the wood 2 1/2 inches from the side. I attached an eyelet screw to the side of the wood that would be the outside of shade.
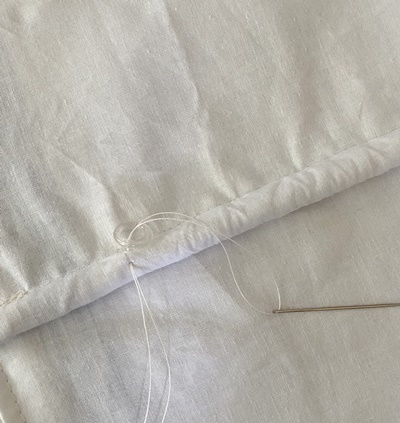
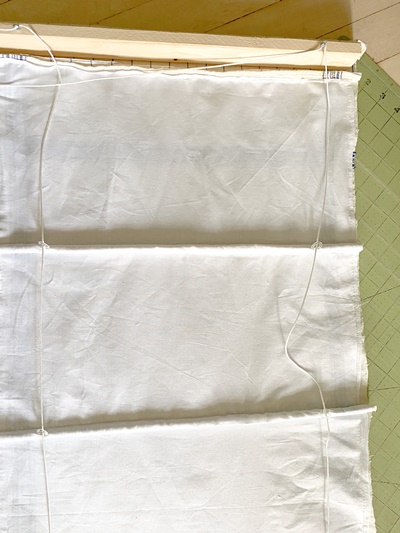
7)Then I hand stitched the plastic circles that came with roman shade kit 2 1/2 inches from the side on the back of each dowel pocket. I used strong upholstery thread for this step.
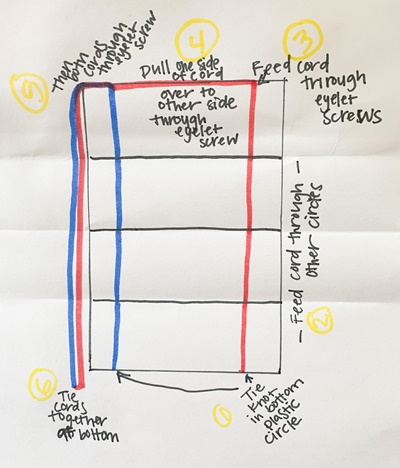
8) Next up is was getting the cord in place, I used two long pieces and tied the end of each one to the bottom circle on each side, then I fed the cord through each of of the plastic circles and the two eyelet screws at the top. I took one of the cords and fed it through the opposite side eyelet screw, then both cords through the side eyelet screw. This is super confusing to explain, but it is an easy task. Here is a somewhat unpolished diagram:
Just keep in mind which side you want your cord to be on with the shade is up and feed both cords over that side and through the side eyelet screw. I found this extra eyelet screw made it much easier to pull the shade up.
***notice the eyelet screw on the side***
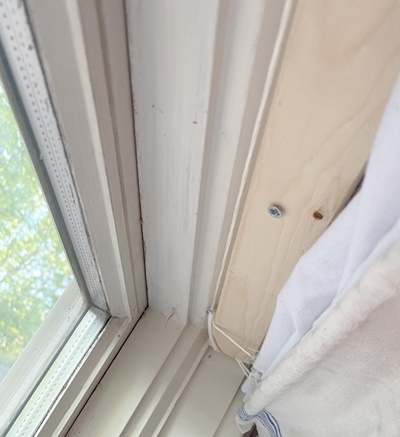
9) Next up was installation, what made the most sense for this window was just screwing the wood directly into the wooden window frame. My shade ended up very light, so I just used one screw. But brackets could come in very handy for installion if your window set up is different.
Thanks for following along. Please contact me with any questions or if you give it a try I would love to see a picture. My email is pennyandivydecor@gmail.com or send me a DM on instagram.
Please subscribe to Penny & Ivy's email list to receive updates on future sales and a bonus 10% off welcome coupon code